Poached eggs are a breakfast favorite, creamy yolks encased in tender whites, perfect atop toast, salads, or grain bowls. But let’s be honest: achieving the ideal poached egg can feel like a culinary challenge, especially without the right tools. Fortunately, there’s a simple solution: Silicone Egg Poaching Cups. These handy kitchen gadgets take the guesswork out of poaching, offering a foolproof way to get perfectly cooked eggs every single time.
In this blog, we’ll guide you through the step-by-step process of making flawless poached eggs using silicone cups, highlight the benefits of this modern method, and share some extra tips to get creative in the kitchen.
What Are Silicone Egg Poaching Cups?
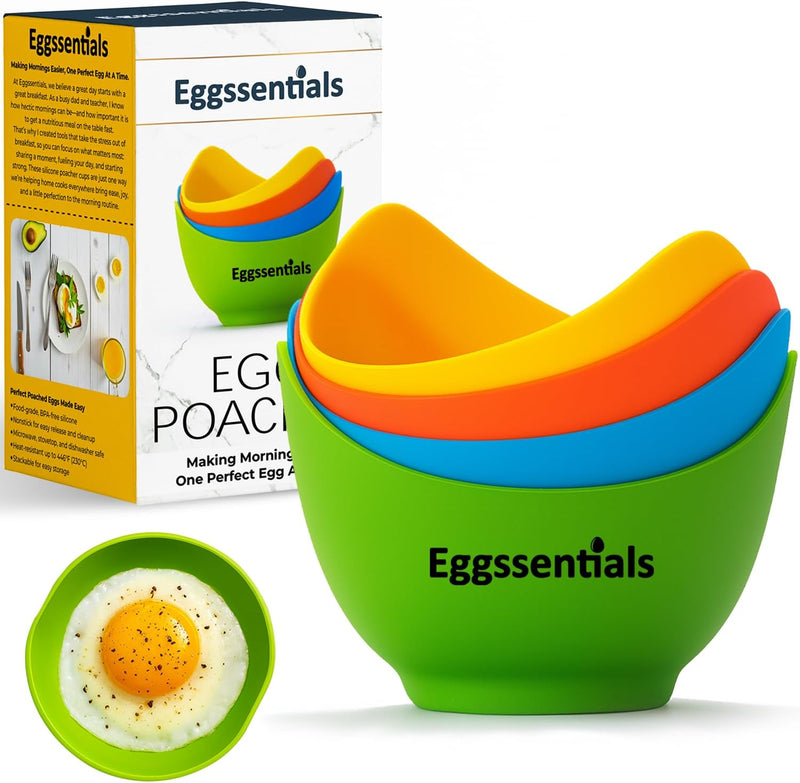
Silicone Egg Poaching Cups are heat-resistant, non-stick molds designed to hold eggs while they poach in boiling or simmering water. Typically made from food-grade silicone, these cups cradle the egg in a stable structure, allowing it to cook evenly without dispersing in the water.
Key Features:
-
Made from BPA-free, food-safe silicone
-
Non-stick interior for easy release
-
Reusable and dishwasher-safe
-
Heat-resistant up to high temperatures
-
Compact and lightweight for easy storage
These cups are a game-changer for home cooks who want gourmet results with minimal hassle.
Benefits of Using Silicone Egg Poaching Cups
Using Silicone Egg Poaching Cups simplifies what was once a tricky task. Let’s explore the benefits that make them a must-have in modern kitchens:
1. No More Egg White Chaos
Traditional poaching often leads to wispy egg whites swirling in the water. With silicone cups, the egg white is contained, forming a compact shape every time.
2. Perfect Consistency
The cup’s shape allows for even cooking, meaning your egg white is firm and your yolk stays lusciously runny just how it should be.
3. Beginner-Friendly
Even if you’re not a seasoned cook, these cups remove the guesswork. There’s no need to worry about swirling water or keeping the temperature precise.
4. Healthier Cooking
Poached eggs are already a healthy option high in protein, low in fat. With silicone cups, you can poach without butter, oil, or added fat.
5. Easy Cleanup
No more scrubbing egg residue from pans. Most silicone cups are dishwasher-safe and quick to rinse clean.
6. Multiple poached eggs at one time
No more waiting for each egg to cook individually. Poacher 4 eggs at once!
What You’ll Need
Before diving into the process, make sure you have the following essentials:
Ingredients:
-
Fresh eggs (the fresher, the better for poaching)
-
Water
-
Salt and pepper (to taste)
-
Optional garnishes: herbs, chili flakes, or hollandaise sauce
Tools:
-
Silicone Egg Poaching Cups
-
Medium or large pot with lid
-
Slotted spoon
-
Cooking spray or a drop of oil (optional)
Step-by-Step Guide: How to Poach Eggs in Silicone Cups
Now, let’s walk through the process of poaching eggs using Silicone Egg Poaching Cups.
Step 1: Prepare the Cups
Lightly coat the inside of each silicone cup with a non-stick cooking spray or a drop of oil. This isn’t always necessary due to the silicone’s non-stick nature, but it can make releasing the egg even easier.
Step 2: Crack the Egg
Crack an egg into a small bowl to check for shell fragments, then gently pour it into the prepared silicone cup.
Step 3: Fill the Pot with Water
Fill a medium or large pot with about 1 to 1.5 inches of water. Place it over medium heat and bring it to a gentle simmer not a rolling boil.
Pro Tip: Keep the temperature just below boiling. Boiling water may splash into the cups and cook the yolk unevenly.
Step 4: Place Cups in the Water
Carefully set the silicone cups in the pot. The cups will float slightly, which is normal. If your cups have a flat bottom, they may sit more steadily.
Step 5: Cover and Cook
Cover the pot with a lid and let the eggs cook for 4 to 6 minutes, depending on your preferred level of doneness.
-
4 minutes: Runny yolk
-
5 minutes: Medium
-
6+ minutes: Firmer yolk
Step 6: Remove and Serve
Use a slotted spoon or tongs to carefully lift the cups out of the water. Let them cool slightly, then gently loosen the egg with a spoon and tip it out onto your dish.
Bonus Tip: Want a neater presentation? Trim any uneven edges of the egg white with a knife before serving.
Tips for Best Results
Here are a few pro tips to elevate your poaching game:
Use Room Temperature Eggs
Cold eggs take longer to cook and may create a rubbery texture. Let your eggs sit at room temperature for 10-15 minutes before cooking.
Keep the Water Shallow
Too much water can cause the cups to float excessively, leading to uneven cooking. One to two inches is usually sufficient.
Avoid Boiling
Keep the water at a simmer to prevent jostling or splashing. Steaming is key to gentle cooking.
Stack for Batch Cooking
Most silicone cups can be stacked or used in multiples. Cook 2–4 eggs at once for easy family meals.
Serving Suggestions for Poached Eggs
Poached eggs are a delicious, nutritious addition to so many dishes. Here are a few favorite ways to enjoy them, inspired by the Eggssentials recipe collection:
1. Healthy Egg White, Pepper & Mushroom Omelet
A light, protein-packed start to your day. Whisk egg whites and pour into a non-stick skillet, then layer with sautéed bell peppers, mushrooms, and a sprinkle of herbs. Fold and cook until set. Serve with a side of toast or fresh greens.
2. Toasted Pita with Buttery Chickpeas & Poached Eggs
Warm chickpeas with olive oil, garlic, and paprika until buttery-soft. Spoon over toasted pita and top with perfectly poached eggs. Finish with lemon zest and chopped parsley for a Middle Eastern-inspired breakfast or lunch.
3. Homemade Hollandaise Sauce
Velvety, rich, and surprisingly simple! Whisk together egg yolks, lemon juice, and melted butter over gentle heat until thickened. Use it to elevate Eggs Benedict, roasted veggies, or even grilled salmon.
4. Avocado & Smoked Salmon Breakfast Muffin
Layer a toasted English muffin with smashed avocado, smoked salmon, and a soft poached or sunny-side-up egg. Top with capers, red onion, and dill for a brunch-worthy bite that’s full of healthy fats and flavor.
5. Poached Eggs on Avocado & Salty Ricotta Toast
A rustic yet elegant dish. Spread mashed avocado and creamy ricotta on toasted sourdough. Add a warm poached egg, sea salt, and cracked pepper. Simple, satisfying, and loaded with texture.
Healthy Breakfast Ideas with Poached Eggs
Poached eggs are not just delicious they're a smart choice for a balanced breakfast. Here's why they make the perfect addition to your morning routine:
Low in Calories
One poached egg has around 70 calories, making it ideal for weight-conscious meals.
High in Protein
Each egg packs 6 grams of protein, helping you feel full longer and maintain energy throughout the day.
No Added Fat
Unlike fried or scrambled eggs, poached eggs require no added butter or oil unless you want to use it.
Nutrient-Rich
Eggs are rich in vitamins B2, B12, D, and minerals like selenium and iodine.
Pair them with whole grains, veggies, or lean meats to create satisfying, nutrient-dense meals.
Why Choose Silicone Over Traditional Methods?
Let’s briefly compare the traditional vs silicone poaching methods:
As you’ll see below, silicone poaching cups make the process easier, cleaner, and far more consistent compared to the traditional method.
| Feature | Traditional Method | Silicone Poaching Cups |
|---|---|---|
| Skill Required | High | Low |
| Egg White Spread | Uncontrollable | Contained |
| Shape | Irregular | Uniform and round |
| Time | Tricky timing | Easy to monitor |
| Cleanup | Messy | Quick and easy |
| Reliability | Inconsistent | Consistent every time |
Silicone Egg Poaching Cups give you control, reduce waste, and save time. Whether you're prepping brunch for guests or just want a quick, healthy breakfast, these tools deliver.
Silicone Egg Poaching Cups give you control, reduce waste, and save time. Whether you're prepping brunch for guests or just want a quick, healthy breakfast, these tools deliver.
Caring for Your Silicone Egg Poaching Cups
To keep your cups performing well for years to come, follow these simple care tips:
-
Wash Before First Use: Rinse with warm soapy water or run through the dishwasher.
-
Avoid Abrasives: Don’t use metal scrubbers or sharp objects on the cups.
-
Store Properly: Nest them together in a drawer to save space.
-
Dry Thoroughly: Silicone can retain water; air dry fully before storage.
Conclusion
Perfectly poached eggs don’t have to be a luxury reserved for brunch cafés. With the help of Silicone Egg Poaching Cups, you can bring gourmet flair to your kitchen with ease. They take the stress out of traditional poaching and make it accessible for cooks of all levels.
Whether you’re preparing a solo breakfast, feeding a family, or hosting a weekend brunch, these cups will help you serve delicious, photo-worthy eggs every time. So go ahead, crack, cook, and enjoy!